What has happened since last update? I've ordered some more components and still waiting to get those. While waiting I studied how to use FreeCAD and designed first draft of the robot.. What do you think?
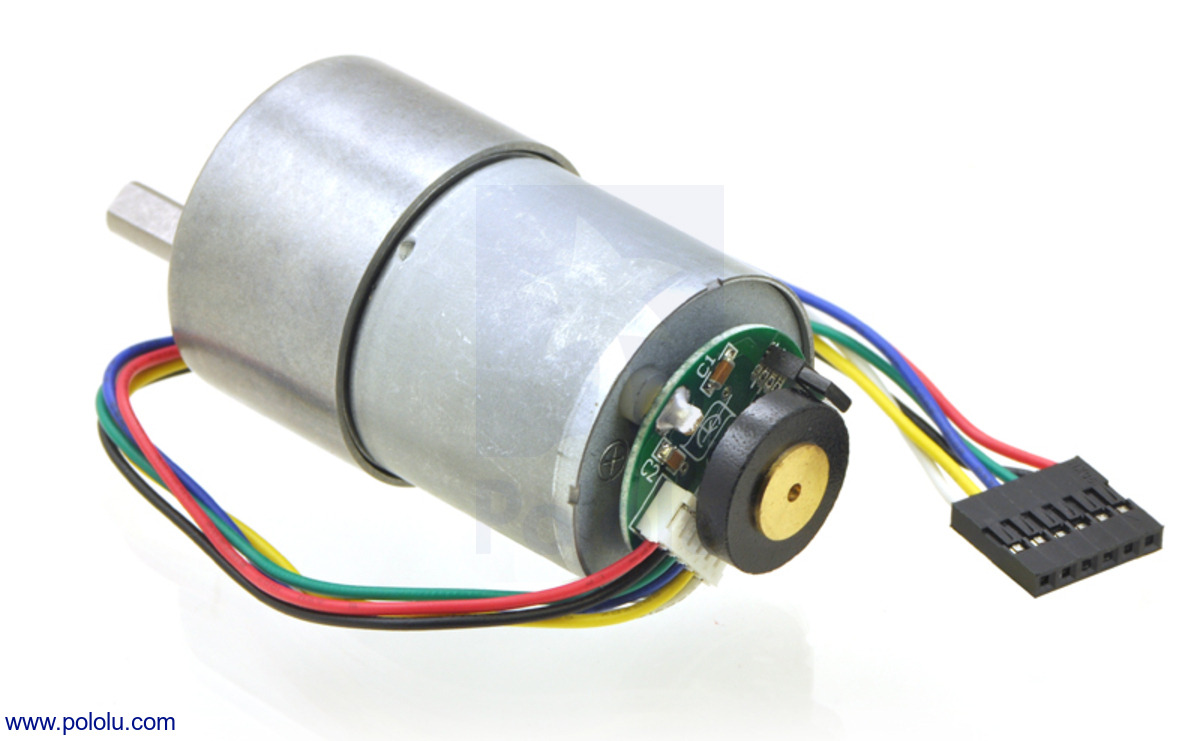
I will make some changes to that, at least reduce the width but before that I need to make some tests with the motors. Motor has encoder implemented using hall sensor and magnet. The magnet is attached to the motor shaft. If motors are too close they might disturb other motors hall sensor.. but let's see. I know more after I've checked how close those can be.
What is still missing is place for different sensors and battery. I placed Raspberry Pi 2 and motor controllers already but their place might change. Also some more ventilation holes might be needed.
The IMU sensor (accelerator meter, gyro, compass and altimeter) place has not been decided yet. Maybe best place is far away from motors. As you know compass uses magnetic fields.. Motors cause disturbances, and those encoder magnets too.. so let's see how these work.
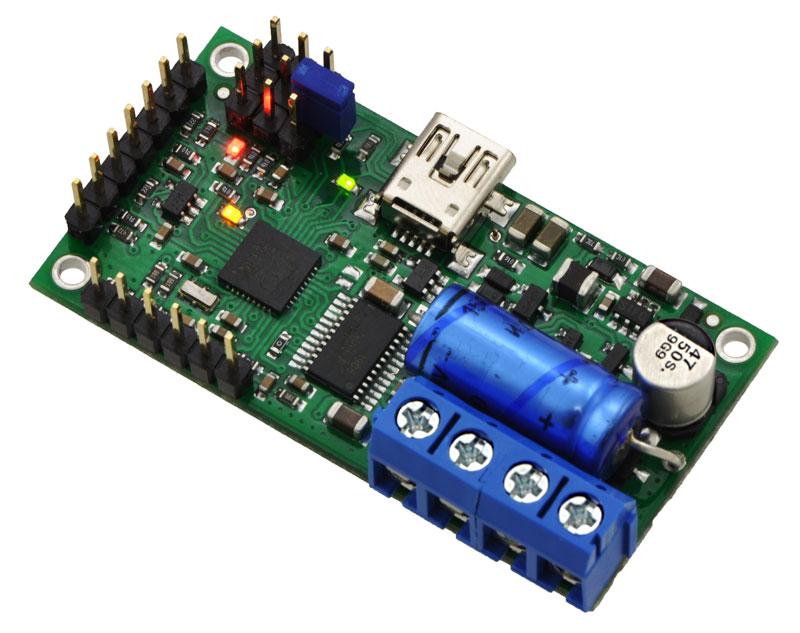
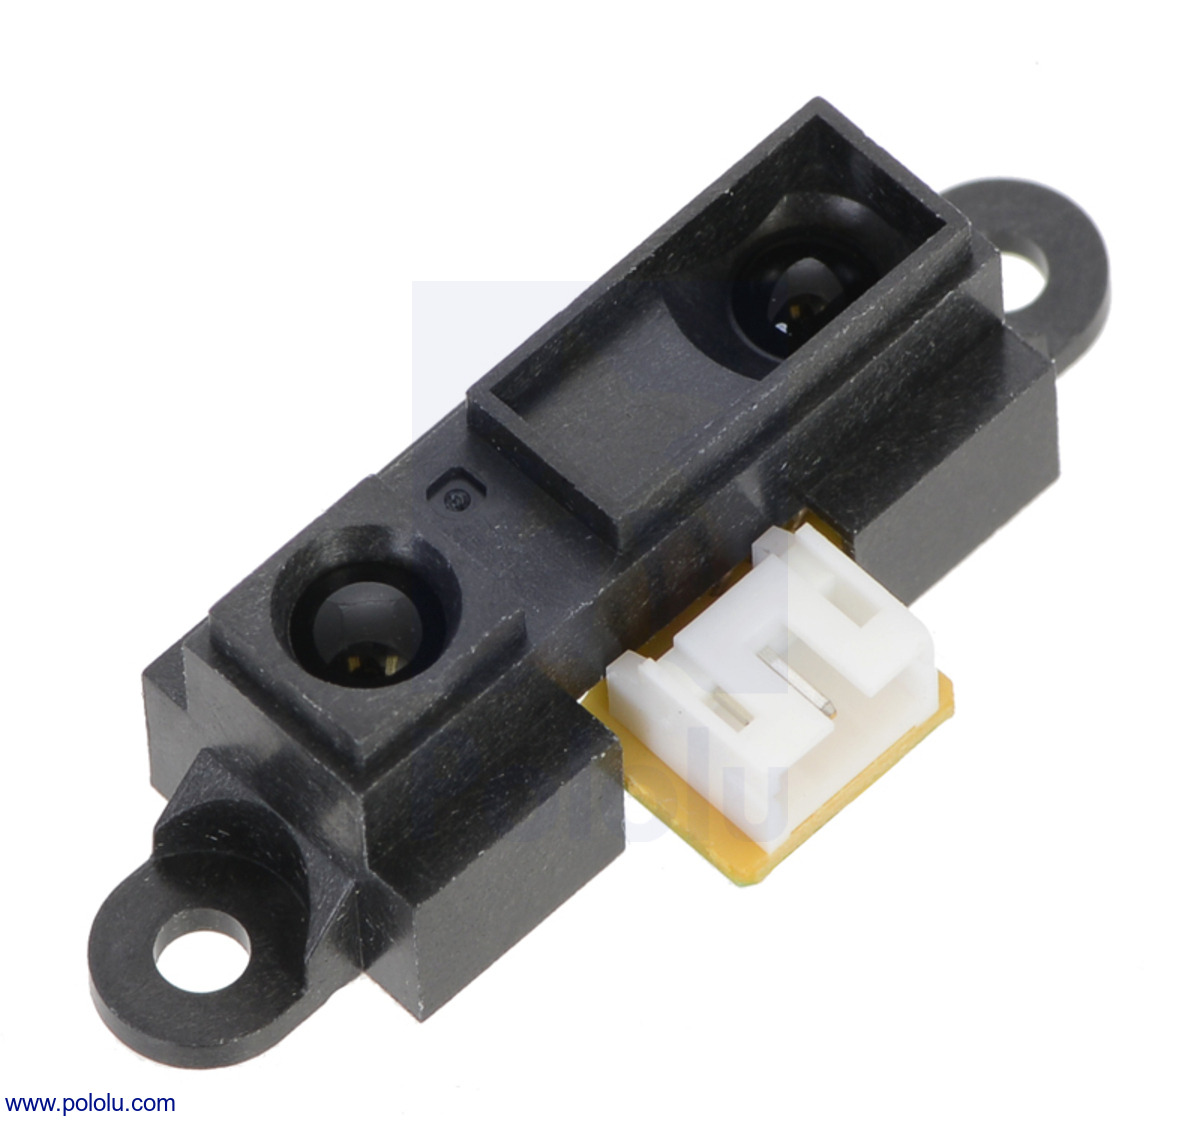
I was about to order A/D converter for this project but after reading the motor controller specification I noticed that it has AD converter for analog control. It is continuously reading the ADC. I can use this ADC and no need to order. The ADC's will be used for converting Sharp IR sensor analog readings to digital.
Also I was thinking that maybe I have to have some temperature sensor for checking the internal temperature of the robot. If it gets hot in there, I should stop the robot. I noticed that the motor controller has temperature sensor too so no need to order any sensors and converters for that either.
I first planned to make the robot inside air ventilation tubes but current plan is to use 3D printer to print the whole robot. Printing material is ABS and it will be much lighter than the air ventilation tubes. The material is black.
The robot arm inside the robot... Seems that with these measures it is not possible to make robot arm inside, but outside.. like hands could be. So maybe I add some ready places for hands.
Next steps are checking the design, placing all components in place, make robot narrower if possible, maybe increase the radius to make some room.
Saturday, April 11, 2015
Saturday, March 21, 2015
Project Started
This blog is about creating two wheeled balancing robot using Raspberry Pi.
The project started few months ago. I like to program and creating robot has been my dream for a long time (since 1987). I just decided that now it is time to do it.
I already had Raspberry Pi, laying in my desk. Once Raspberry Pi 2 was released I ordered one.. something needs to be done with these...
I was checking my sons room.. Lego's all over. I thought that wouldn't it be cool to have robot that sorts all the Lego's in size and colour order to the floor or just takes them into the Lego box. So this is where this started. Enough challenges ;)
I thought that I make cheap one.. only two motors so it is cheaper. Well I am not sure if I saved any money yet ;)
I started by googling around to find out what kind of projects others have done and what kind of algorithms have been used to keep two wheeled robots in balance. I learned a lot.. Trying to avoid mistakes that others have done.
List of things to restudy and study:


The project started few months ago. I like to program and creating robot has been my dream for a long time (since 1987). I just decided that now it is time to do it.
I already had Raspberry Pi, laying in my desk. Once Raspberry Pi 2 was released I ordered one.. something needs to be done with these...
I was checking my sons room.. Lego's all over. I thought that wouldn't it be cool to have robot that sorts all the Lego's in size and colour order to the floor or just takes them into the Lego box. So this is where this started. Enough challenges ;)
I thought that I make cheap one.. only two motors so it is cheaper. Well I am not sure if I saved any money yet ;)
I started by googling around to find out what kind of projects others have done and what kind of algorithms have been used to keep two wheeled robots in balance. I learned a lot.. Trying to avoid mistakes that others have done.
List of things to restudy and study:
- Electronics and interfacing
- Designing schema
- 3D CAD
- 3D printing
- I2C
- Neural Networks
- Fuzzy Logic
- Mapping of surrounding areas using ultrasonic distance sensor / IR sensor
- OpenCV with Raspberry Pi
What has been this far...
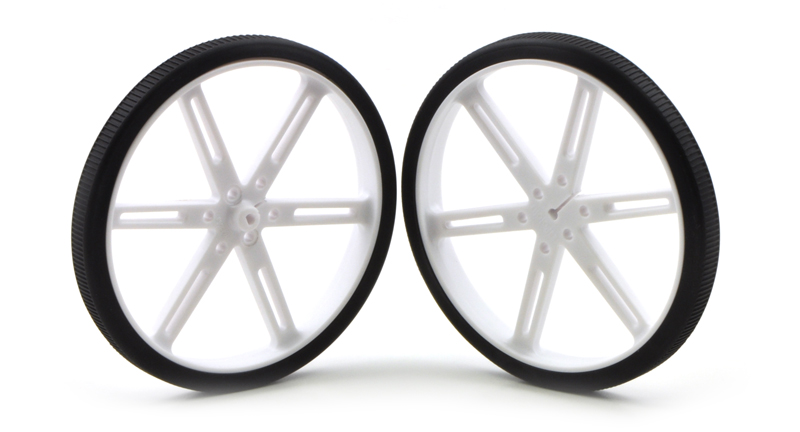
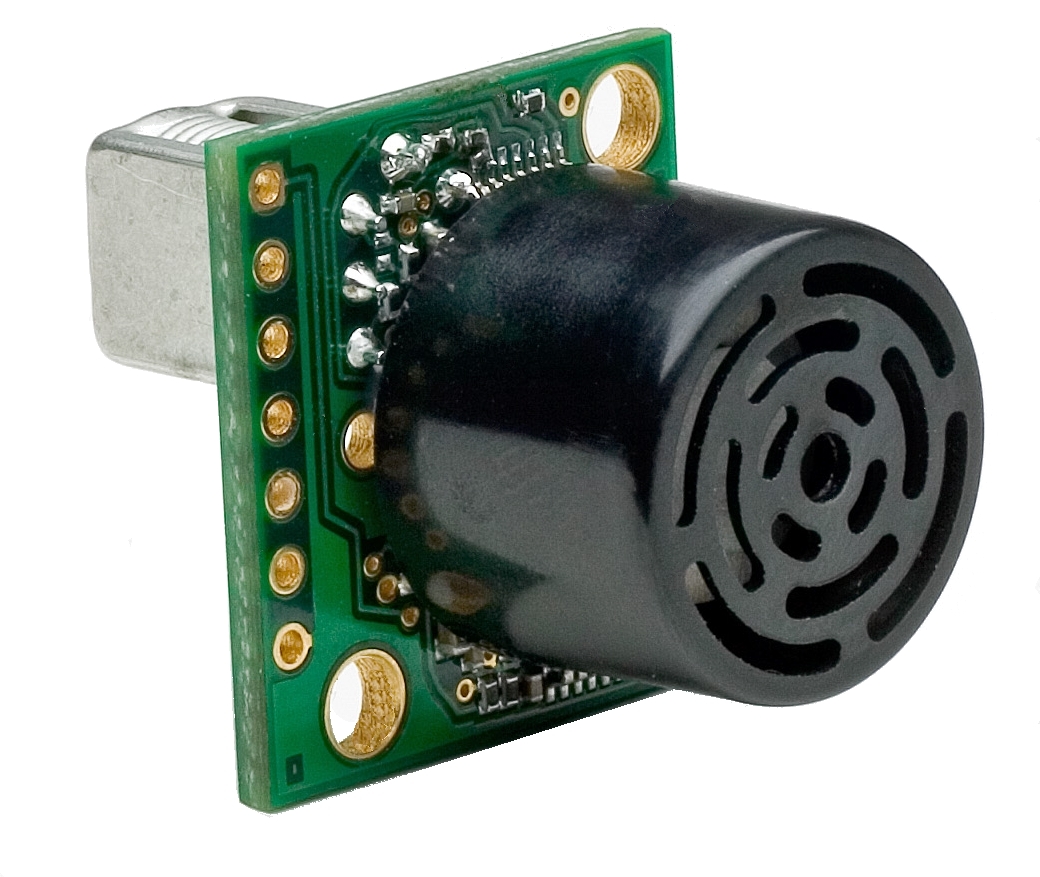
- some of the components ordered (motors, motor controller, IR sensor, Ultrasound sensor, IMU (compass, barometer/altimeter, accelerator sensor and gyro, wheels, wheel connectors). Not sure these components are all used in the robot. Wanted just to get something touchable into my hands. You can find these from pololu.com. There is distributors of these also in Europe.
- Some pictures here, detailed list later...


- some 3d drawings done using FastCAD. Some learning to do... I'll share some pictures later.
- decided to build the robot using biltema "air tubes" like these:
because these were cheap. The straight tube is attached T-part. The T-part will be cut to half from the T top. This half T part will be on the bottom of the robot. I need to make the T part a little wider to cover the wheels.
Inside the tube there will be 4 threaded M6 rods and several plastic disks (atleast 4). The plastic disks will be fit into correct height with nuts. I will save space in the middle of the tube for 4 DOF robot arm, this arm would be used then for picking the Legos.
Inside the T-part there will be 3D printed part which will hold the motors and IMUv4 sensors. On top of the robot there will be 3D printed "hat" which have 2 servos installed for rotating, tilting the ultrasonic sensor and camera (and maybe Ir sensor too). Some 3D printed holders for Raspberry PI 2 and other PCB's.
Near future plan is to get the 3D plan done and schematics ready (just started).
Let's see if this will be just one way to spend your euros or will I finally get something ready. I have no schedule so this can be long project.
Subscribe to:
Posts (Atom)